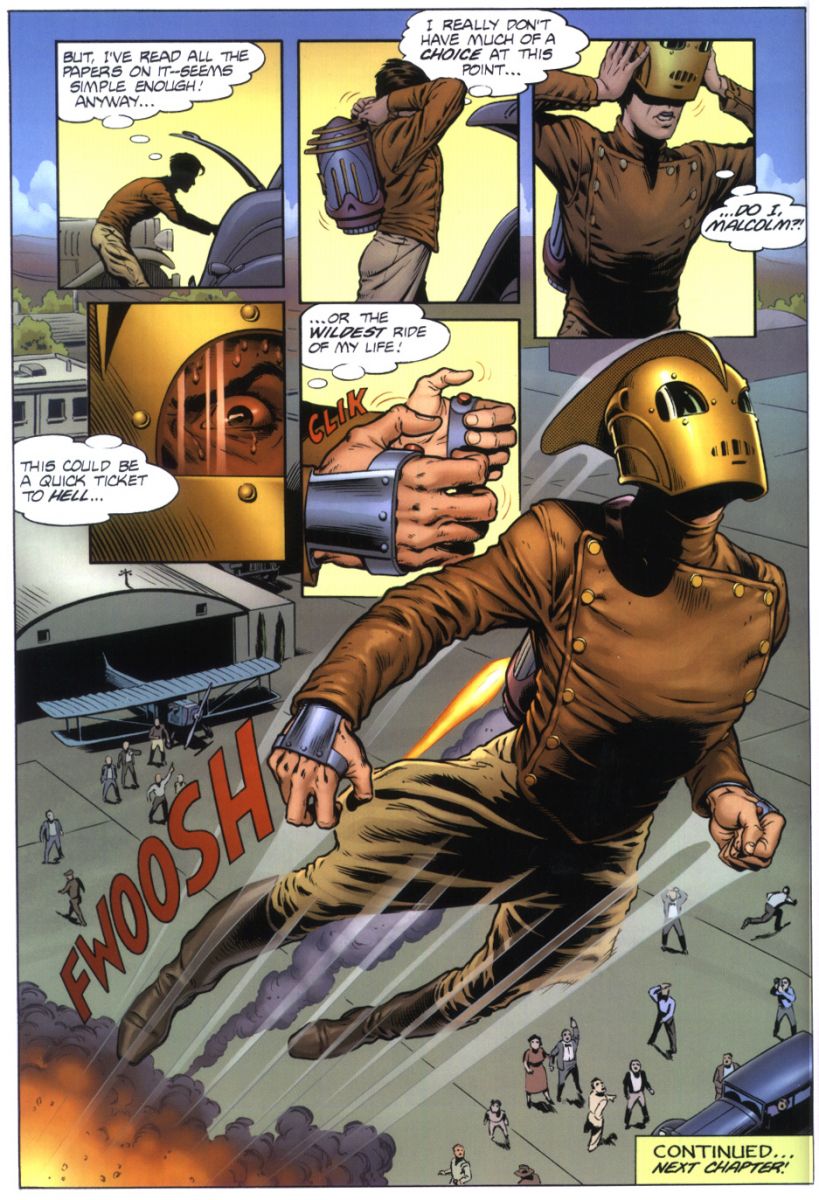
Can't have the Rocketeer without his rocket pack! But first I had to decide if I wanted to go with the look of the comic or the one from the movie....of course the one from the movie is pretty wicked looking - whiiiiich also means a more complicated build. I was already on kind of tight timeline and I had decided to put most of my efforts into making the iconic helmet, so I decided to keep it really simple.
 After some perusing of the interwebs I found THIS Instructable by user ModMischief. It gave me a great starting point for my own. I started the same way: two pop bottles, a mouthwash bottle, some poster board (could have used a cereal box or something similar but I didn't like that it had a crease in it) and cardboard. I cut off the very bottoms of the bottles and wrapped some of the poster board around it to elongate the tube part (hot glue it together!). I made the two cones on the top of the bottles with the poster board as well, just make a circle, cut a line to the center point, pull in and form a cone, glue it together.
 Next, I hot glued a piece of card board between the two bottles and slapped on a couple layers of Mod Podge to seal it so it would paint well. Then I cut the mouthwash bottle in half (height-wise) and cut a circle where the label used to be on the front of the bottle. To make the fan part I glued some toothpicks in to the circle I just cut out, and again, sealed them up with some Mod Podge. Now, the actual fan: I bought a small hand held fan from the dollar store, took it apart, used the cage bit as a cradle to keep it in place (for when I was ready to glue it in), and spray painted the blades of it copper. After that I cut a toilet paper tube in half, cut a whole in it (the width of the neck of the bottle), and used it to cover what was the opening of the bottle so I could use it as a connector piece. Once again, I Mod Podged the TP tube so it'd paint up well, then I put it aside for the time being.

 Heading in to the final few details: I used a piece of thermo-plastic to shape the little bubbles on the side of the rocket pack, used drops of Mod Podge to create little rivets and what not, and found some small-ish yogurt containers to place inside the tube for the rockets. Then I gave everything an undercoat by spray painting it black. After it all dried, I spray painted the mouthwash bottle/TP tube part (without the fan inside!) silver, glued the cage/cradle bit with the fan inside in to the bottle, and then glued the bottle onto the cardboard that is the rockets mid section. I spray painted all but the yogurt containers silver and after it dried placed them back in the tube and glued them in place.
As for the straps, I just picked up a purse with leather handles at a thrift store. Cut off the handles and hot glued them on with a crap ton of glue! Didn't want them going anywhere.
And TA-DA!! Rocket pack complete!
Simple - yet effective.


